Good afternoon all and welcome to my piece of cyber space.
Today, I have some photo's for you of an MDF tool caddy that I recently purchased from Create & Craft during the Stamps Away show with Ali Reeve.
One of the products on the show that day was an MDF tool caddy and it just happened to fall into my basket.
I began by cutting up a piece of manilla wrapping paper and screwing the pieces up (as Ali had done on the show). Then I painted the raw MDF sides with decopatch glue and laid the paper over, not smoothing all the wrinkles out completely. Did the same with the draw fronts & left it to dry for a while.

Once dry, and using a piece of sandpaper, I removed the excess paper, to leave nice smooth edges.
Then out came the Tesco Go Create metallic paint in copper and lilac.

Using a 1" flat wash brush, I loaded it up in a similar style to Donna Dewberry - the originator of the one stroke painting technique. I wasn't painting flowers of course but wanted to get 2 colours slapped on the sides in one go and by double loading the brush with the 2 colours, I was able to achieve the desired effect.

Once it was dry, I added dusting's of black soot distress ink using a 3/4" oval wash brush and very light strokes. Highlights were also added with both Olive Bronze Treasure gold and Treasure brass.
The insides of the caddy were dry brushed with the metallic paints and some translucent Fresco chalk paints (whatever came to hand) to create a 'well loved' effect.
Whilst waiting for paint to dry, and rather than watching it do so, I set the cameo off cutting piano hinges etc from Silhouette branded chipboard. I had asked it to cut Phillips screw head tops too but the size of the circles and internal crosses were a step too far for the cameo and they snagged.
Once cut, I covered the hinges and drawer furniture with Indigo Blu Mega gilding flakes. Not sure of the exact colour as I have 2 or 3 pots all mixed into one container.
Once assembled, I then sat and put 4mm red gems in each screw hole on the piano hinges & draw fronts.
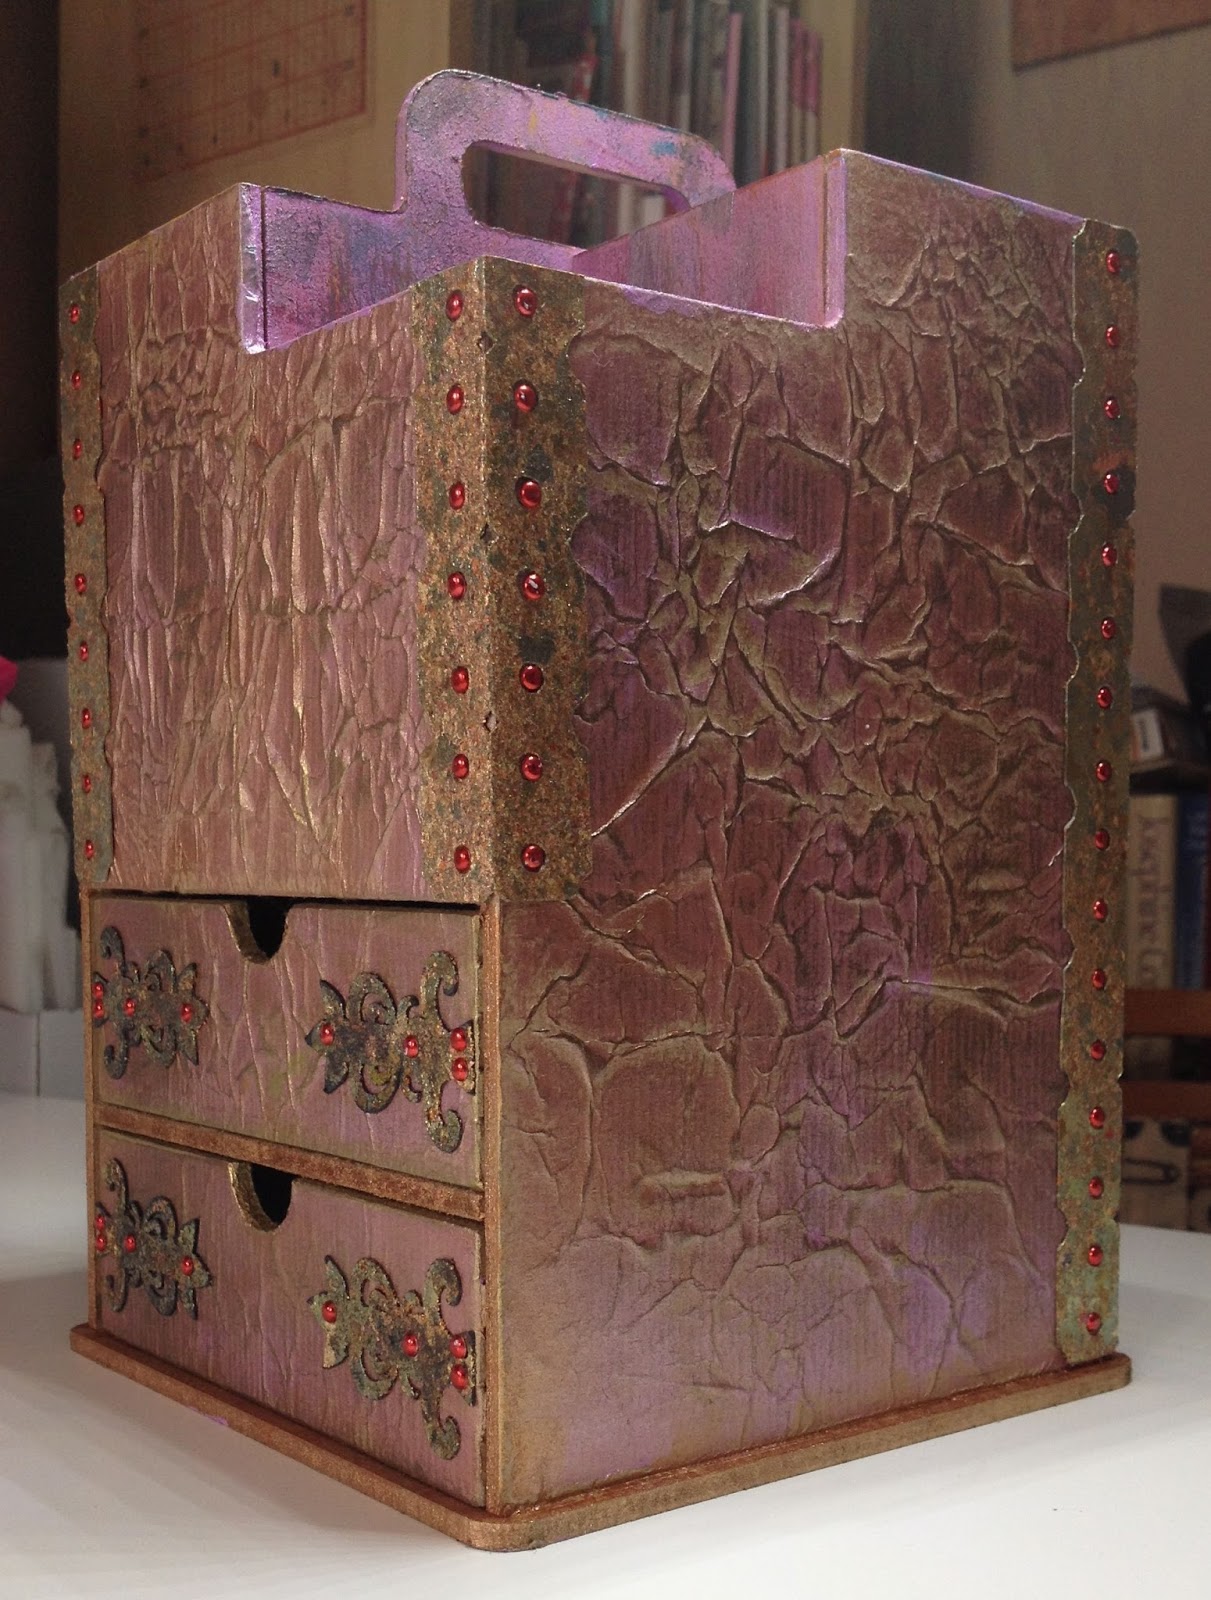


And there you have it. My completed tool caddy.
Hope you like it and thank you for dropping by today.
Cazz xx