Planner Dashboards available in various sizes

Planner Dashboards available in various sizes
Visit my Etsy Shop

Sunday 30 August 2015

Playing with glue sticks and Mod Mini Melts - my verdict

Hi all and welcome to my blog. 

Over the past 2 days, I have been playing with my glue guns and thought I would finally get around to trying out "Mod Mini Glue Melts". Myself and a friend, Sue, had shared 2 packets that we bought at the Hatfield Living Crafts show in 2014; so it's been a while and thought it was time I blew the dust of my share and tried them out. I had 6 'beach glass clear' & 6 'milky white'. 

The first thing I did wrong, was try to load the Mod Mini Melts into my large glue gun. The clue is in the title really - MINI !!!  My large glue gun takes 10mm sticks and the Mod Mini Melts are designed for, yes, you've guessed it, a MINI glue gun that will take 7mm sticks. 

This is the result of trying to get a 7mm Mod melt to work in a 10mm glue gun...


It's not a pretty sight and I doubt 'elf & safety' would be happy with me using a kebab stick to shove the stick down the channel in the glue gun to get it to work. The end result is not smooth and there's air bubbles in the centre where the Mod Mini Melt was beginning to cool before I could get the rest of the Melt stick out.  As I said though, this is my fault and not that of the product.

I then got out my mini glue gun. You know what happen's when you buy a 99p bargain basement glue gun? Not a lot. Nothing in fact. Wouldn't heat up at all. So 99p went in the bin - life is too short and precious to fiddle with a 99p glue gun. 

My next step was to try regular 10mm glue sticks in my big glue gun. This proved to be much more productive and dammed good fun too.


Here is the result of the same rose mould using regular glue sticks. 


And two more. There was some residue glue already in the glue gun so the flower on the left is clearer because of that. The one on the left is a mixture of the two and the rose at the top is from the new glue stick that I had put into the glue gun.


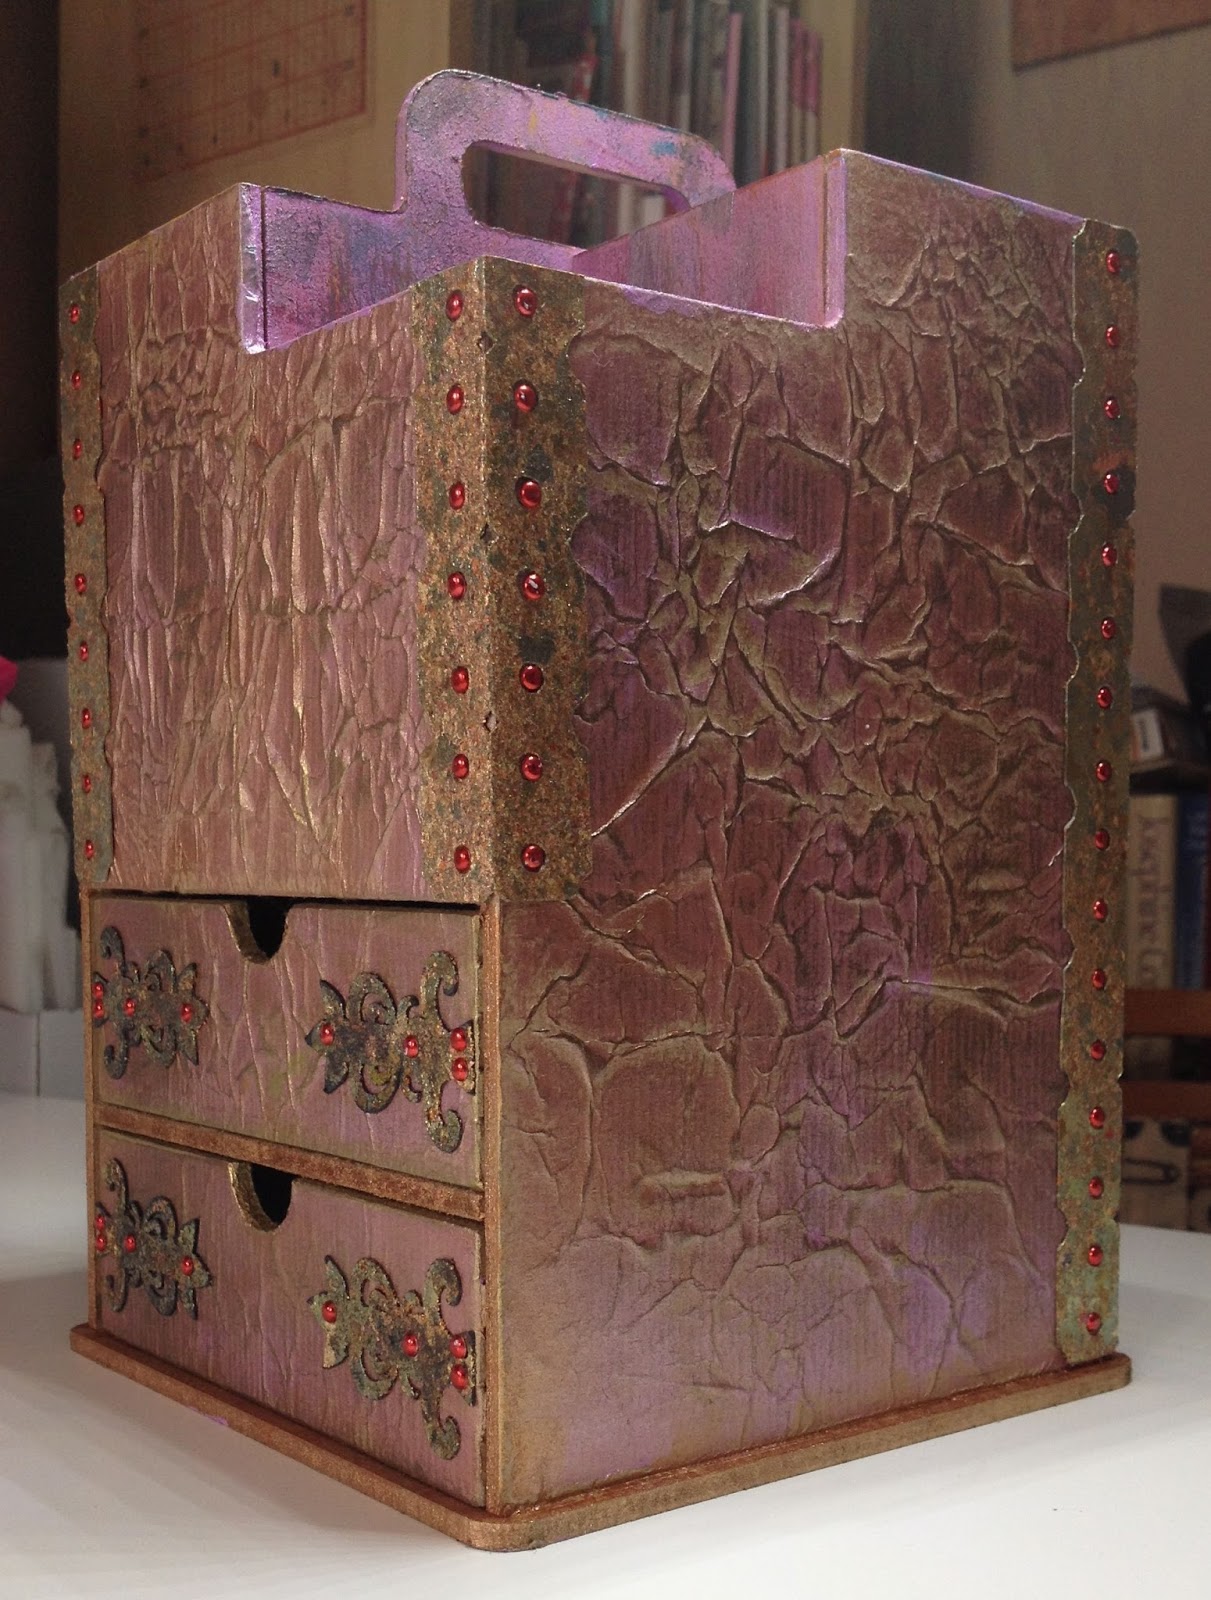
It wasn't long before I had a stack of items on my table. Some of them are going to need trimming etc but some look great with the excess around them and will be perfect on canvases etc.

Earlier today, I went out and bought a new Stanley Brand Mini glue gun and tried again with the Mod Mini Melt Sticks. I again made another rose with the 'beach' effect clear stick.

Then I sat at my desk and dusted them with Pebeo Gilding wax. See if you can tell which is which. One is a Mod Mini melt and the other 2 are regular glue sticks.


No difference right? So, for me, from now on I shall be sticking with regular glue sticks. And will use the right size for the appropriate glue gun !!


Thanks for stopping by my blog today. Any comments would be appreciated, just leave them below. I do read them all xx

Happy Crafting everyone x

Thursday 30 July 2015

MDF Mini Tool Caddy


 Good afternoon all and welcome to my piece of cyber space. 
Today, I have some photo's for you of an MDF tool caddy that I recently purchased from Create & Craft during the Stamps Away show with Ali Reeve. 

One of the products on the show that day was an MDF tool caddy and it just happened to fall into my basket.

I began by cutting up a piece of manilla wrapping paper and screwing the pieces up (as Ali had done on the show). Then I painted the raw MDF sides with decopatch glue and laid the paper over, not smoothing all the wrinkles out completely. Did the same with the draw fronts & left it to dry for a while. 
 

Once dry, and using a piece of sandpaper, I removed the excess paper, to leave nice smooth edges.
Then out came the Tesco Go Create metallic paint in copper and lilac. 

Using a 1" flat wash brush, I loaded it up in a similar style to Donna Dewberry - the originator of the one stroke painting technique. I wasn't painting flowers of course but wanted to get 2 colours slapped on the sides in one go and by double loading the brush with the 2 colours, I was able to achieve the desired effect.


Once it was dry, I added dusting's of black soot distress ink using a 3/4" oval wash brush and very light strokes. Highlights were also added with both Olive Bronze Treasure gold and Treasure brass.

The insides of the caddy were dry brushed with the metallic paints and some translucent Fresco chalk paints (whatever came to hand) to create a 'well loved' effect.

Whilst waiting for paint to dry, and rather than watching it do so, I set the cameo off cutting piano hinges etc from Silhouette branded chipboard. I had asked it to cut Phillips screw head tops too but the size of the circles and internal crosses were a step too far for the cameo and they snagged.

Once cut, I covered the hinges and drawer furniture with Indigo Blu Mega gilding flakes. Not sure of the exact colour as I have 2 or 3 pots all mixed into one container. 

Once assembled, I then sat and put 4mm red gems in each screw hole on the piano hinges & draw fronts.


And there you have it. My completed tool caddy.

Hope you like it and thank you for dropping by today.

Cazz xx


Sunday 5 July 2015

"SCRAPPY" thank you card & the 'recipe'


Hi blogger's and here is today's card.

I have called it a 'scrappy' thank you card as, on the whole, it is made from scraps.

I took a 6" x 6" hammered blank card as my base & dusted the edges with the inks detailed below.

The 'embossed' wood effect background is the packaging from the Sheena Douglas small embossing 
folder range. Once I had run it through my embossing machine, I lightly inked over the top
with a sepia archival ink pad. I wasn't too happy with how it looked so I wiped it off
with a heavy duty hand wipe and it bought away some of the coating on the packaging too
and I was much happier with the look then. I continued to dust over the embossed card with 'Aged Mahogany & Brushed Corduroy' distress inks with a brush from Clarity Stamp. 

To finish the topper, I matted the piece onto a used manilla envelope that I cut to size.

The flower stamp was a freebie from last month's Craft Stamper magazine.
I stamped them onto a scrap of watercolour paper and coloured 
them all with Spectrum Noir pencils in 3 shades of sepia / brown.
I cut into the petals to help them curl.

Once stuck onto the topper, I used a wink of stella clear brush to highlight the central petals of the 
flower's but it doesn't show up in the photo. 

I had a piece of manilla envelope left and I stamped the sentiment in sepia archival ink
using the 'thank you' stamp from Ali Reece at CleverCut.

Then using one of Sheena Douglas' wood effect masks, I very lightly brushed over
the sentiment with a mix of the same distress inks as before.

To finish, I placed 3 amber gems in the bottom corner.

I hope you like it and thank you for calling by my blog today 


Monday 15 June 2015

Art Deco "Framed Rose" card using new hand drawn digistamp from Emma Goddard

 Hi everyone. My name is Cazz and I was recently asked by Emma Goddard from Delightful Digi's to create a card using an image from her latest range of digistamps. I chose the "Framed Rose" design for my card. It's a beautiful design with a lovely vintage feel although I went down the Art Deco route myself, so it is a versatile design and suitable for many occasions depending on which colour you choose to colour your image.


I opted for a yellow rose as they are my favourite and mean a lot to me personally.I chose to use Spectrum Noir pencils to give a softer feel to the image. Emma has already added the shading on the design so it was simple to colour in. I also used "Zest-it" Pencil blend with paper stumps to soften it down even further. 


I used corner edger scissors for both the mat & layer.
I have have had the Rennie Mackintosh die cuts in my stash for so long, I can't remember where I got them from - apologies. They fitted the card beautifully though. 


Pop over to Emma's blogpage to see her range of hand drawn digistamps.


Thank you for stopping by today
Cazz x


Monday 18 May 2015

Vintage Car Birthday Card

Today I have made a card. 

Haven't had a lot of mojo lately and these 2 projects are all I have done since February.


Hope you like them

Cazz xxx


Sunday 8 February 2015

Steampunk Edgar - Hels Sheridan Blog Challengeproject


Hi everyone, today I have been playing with a papier mache hanging plaque, some Crafters Companion Embossing folders, wooden cogs, black card, radiant rain black paint, tesco go create copper metallic paint, a touch of copper treasure gold, Paper Artsy white chalk paint as a base coat, a paper artsy sentiment stamp and last but not least, the delightful 'Edgar' stamp from Visible Image that I coloured with just graphite pencils a few weeks ago and he has been sat patiently waiting for me to do something with him.

I began by simply giving the whole plaque a coat of white chalk paint and letting it dry. It doesn't take many minutes. I then used a dry brush and roughly painted black radiant rain paint over the whole thing. The beauty of this paint is, its more of a graphite grey than a dark black. I then took another dry brush and  applied a thin sparse layer of Tesco Go Create Copper metallic paint - if you've walked passed this range of paints in the past as they are 'kids stuff', I urge you to give it a try. Gorgeous range of colours and a beautiful sheen when its dry - and very economical too. 

I embossed a piece of black card with the "Distress" 8 x 8 embossing folder from Crafters Companion and tore it back to the right size for the plaque. I brushed over it VERY LIGHTLY with the radiant rain and copper paint, just to bring out the embossing detail.

I then did the same with the "Dry Stone Wall" embossing folder and tore it across for the corners. 


I didn't prime the wooden cogs. I simply put a dot of radiant rain next to a dot of metallic paint and dabbed a dry brush into both to semi-mix them and dabbed it onto the cog - instant rust effect.


For the sentiment, I brushed over a piece of white cardstock with what was left on the brush and stamped over the top with a black archival ink pad. The sentiment reads 'Let each man exercise the art he knows'.
It hasn't come out very clearly on the photos (sorry) 

I then layered it onto a waste piece of the distress embossed card.


To finish, I just touched the edges with Treasure gold in Copper to add highlights and then attached Edgar (who was cut out on the silhouette cameo using the pixscan mat) 

Thank to my bestie, Jax, I am now going to enter this piece of artwork into Hels Sheridan's Blog Challenge  which this week is 'Locomotion'


Hope you like it and thank you for stopping by my blog today

Cazz xx


Sunday 4 January 2015

Tatty Twinkles birthday card


Long time no blog so please let me take this opportunity to wish you all a happy new year.

I needed to make a card for a work colleagues forthcoming birthday from the rest of the staff so for this card I have chosen to use the Tatty Twinkles images from Polka Doodles / Tattered Lace cd-rom.

I took the images I wanted into Serif Craft Artist Pro to size them right for the size of card
 (8" x 8" in this case).

Once printed onto Kraft card, I used the Spectrum Noir "essentials" pencil set for all the colouring,
along with "Zest-it" blending solution and paper stubs. 

I used the Cameo Pixscan mat to cut all the images out.

The background was made using 3 or 4 shades of pan pastels and then a few sprays of iridescent gold spray to create another layer of interest.

Hand drew the stems onto the background and attached the images with pinflair.

Hope you like it and thank you for stopping by my blog today x


post signature